The Boostify Size Charts app helps customers choose the right fit by displaying detailed sizing information directly on your product pages. With clear measurements and conversion guides, shoppers can confidently select their size, reducing uncertainty and lowering the chance of returns. You can create size charts for individual products, specific collections, or your entire store.
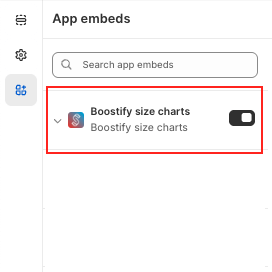
1. Enable App embeds in the Theme editor
In App embeds settings, active Boostify size charts app
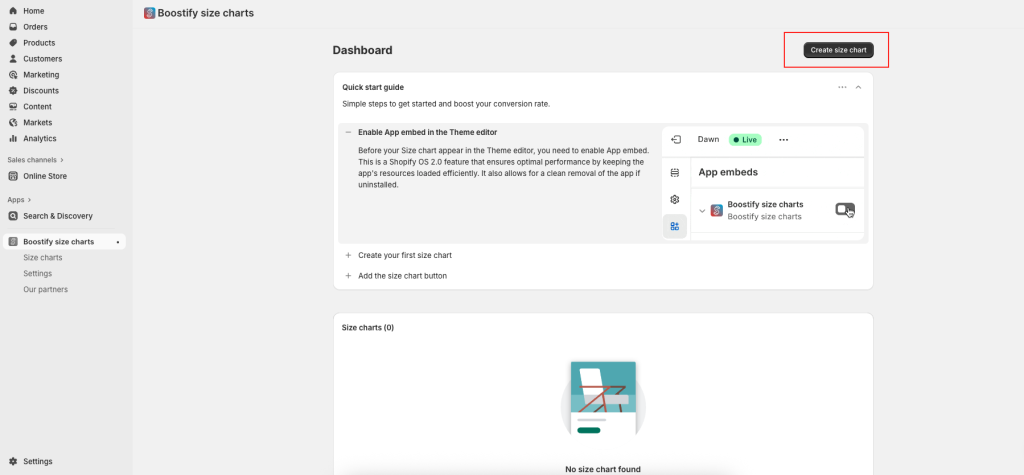
2. Create your first size chart
In the apps, click Create size chart button.
Set up a Size chart

Add the Name of the size chart, which can be set by category, such as Men, Women, or Children, etc…. Set the name of your feature products or collection to select quickly when you have several size charts.
Change Status to Active to display the Size chart in your store.
Access the Size Chart Editor
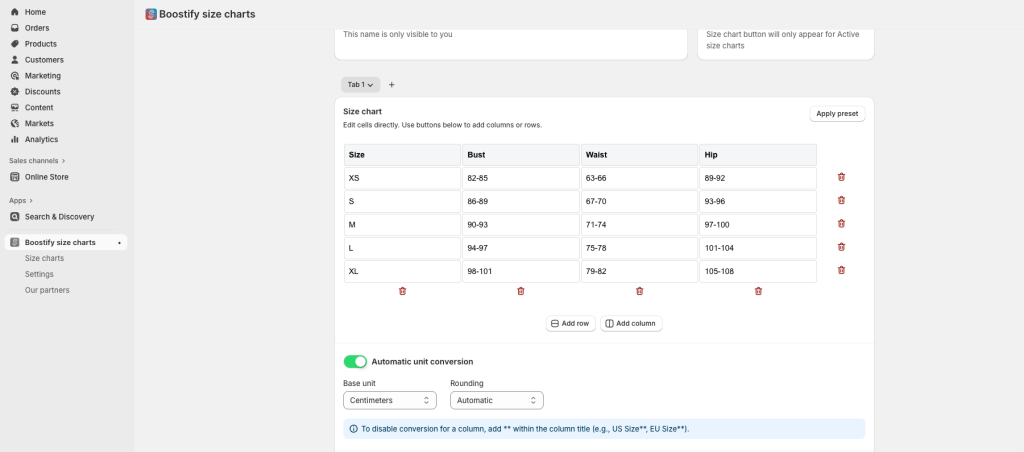
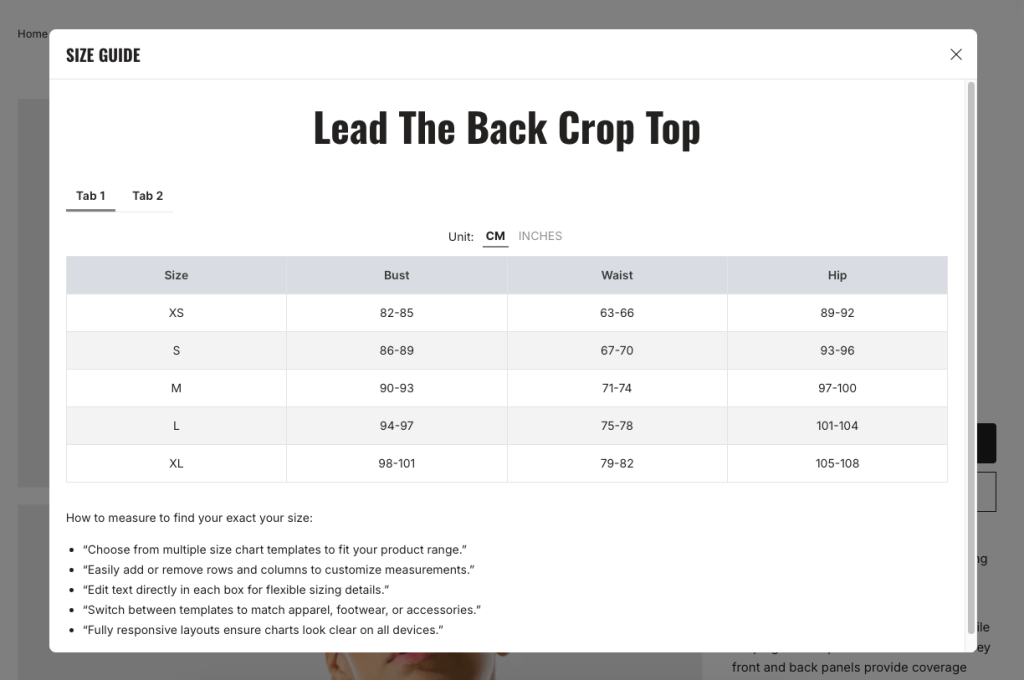
Adding Rows: A new row will appear at the bottom of the table. Enter a row label (e.g., XS, S, M, L, XL).
Adding Columns: A new column will appear on the right side of the table. Enter a column name (e.g., Bust, Waist, Length, US Size).
Editing Text in Each Box: Click into any cell of the table. Type your custom measurement or text (e.g., 34 in / 86 cm). You can use either numbers, text, or both (depending on your chart style).
Removing Rows or Columns: Click the trash/delete icon to remove it. Deleting a row or column will erase all text inside it.
Use the tab to create another size chart version.
Active Automatic unit conversion to show units with inches and centimeters
Access the Size Chart Preset
Another way to set your size chart is to Apply preset. Choose from multiple size chart templates to fit your product range. Each template has a preview to check the template element before applying the template. After applying the preset, easily add or remove rows and columns to customize more measurements.
Access Measurement instructions
Easy-to-follow and customizable, the instructions can be tailored for apparel, footwear, or accessories, helping customers find their perfect fit every time.
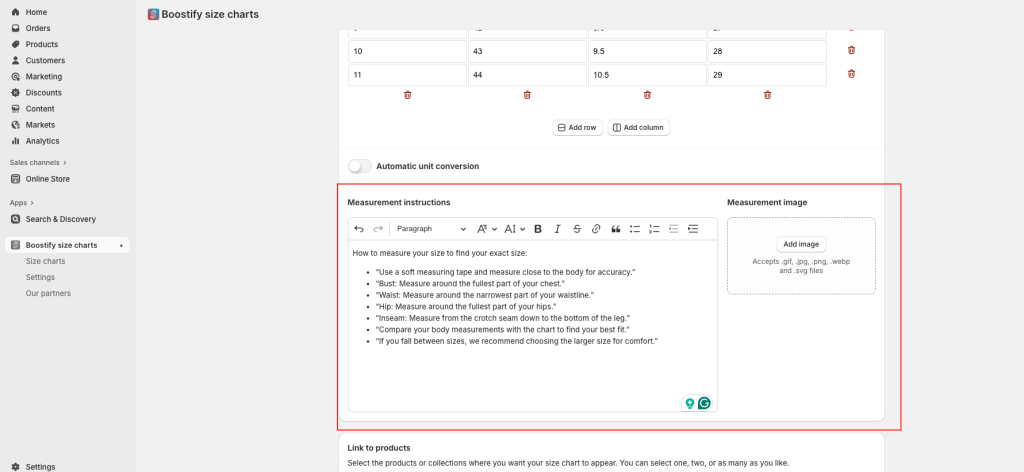
It provides customers with clear guidance on how to take accurate body measurements before selecting a size. By outlining simple steps for measuring areas such as bust, waist, hips, and inseam, it ensures shoppers can confidently match their measurements to your size chart. This reduces sizing errors, lowers return rates, and improves overall shopping satisfaction.
Add an image to describe more details about the size chart or how to measure.
Access Link to products
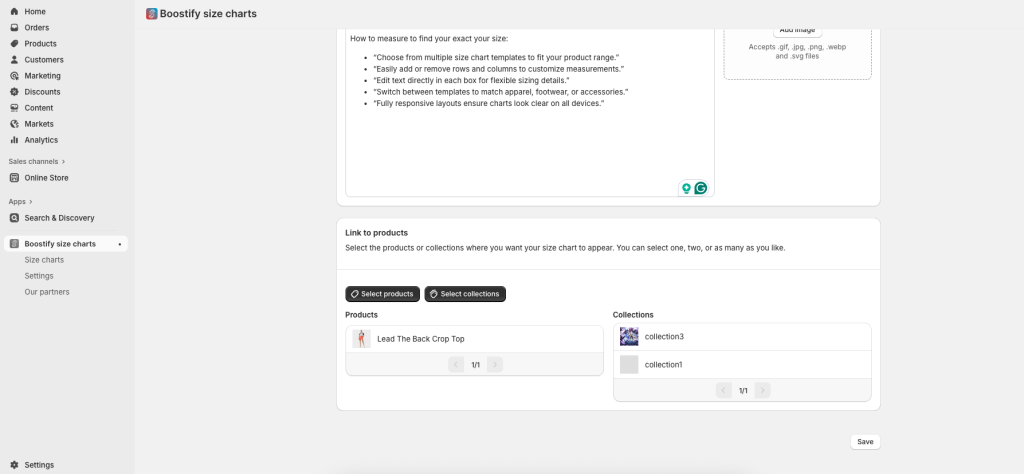
Select the products or collections where you want your size chart to appear. You can select one, two, or as many as you like. You can set both for products and collections.
After all settings, click the Save button to save your site chart.
Size chart settings
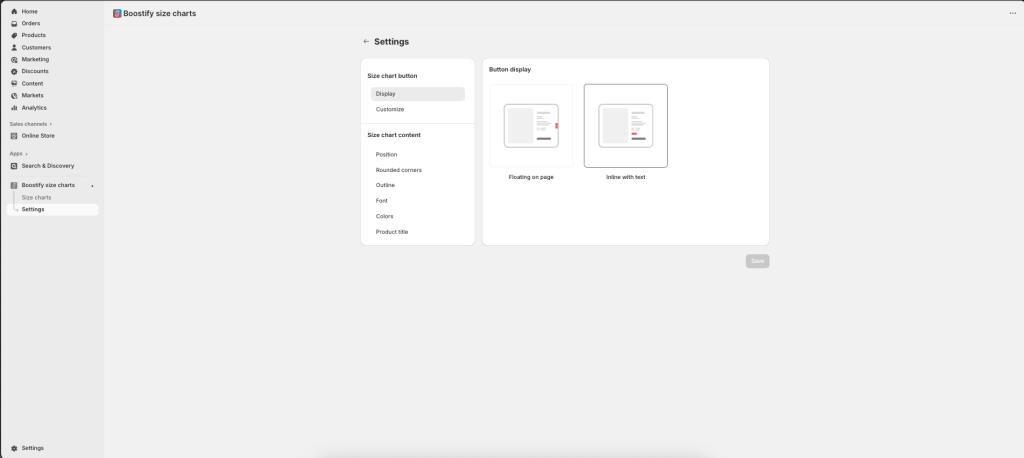
Size chart button
There are 2 options to display: Floating on page and Inline with text
In Customize, you can preview your size chart button at the top, change the Button label, icon, and icon position.
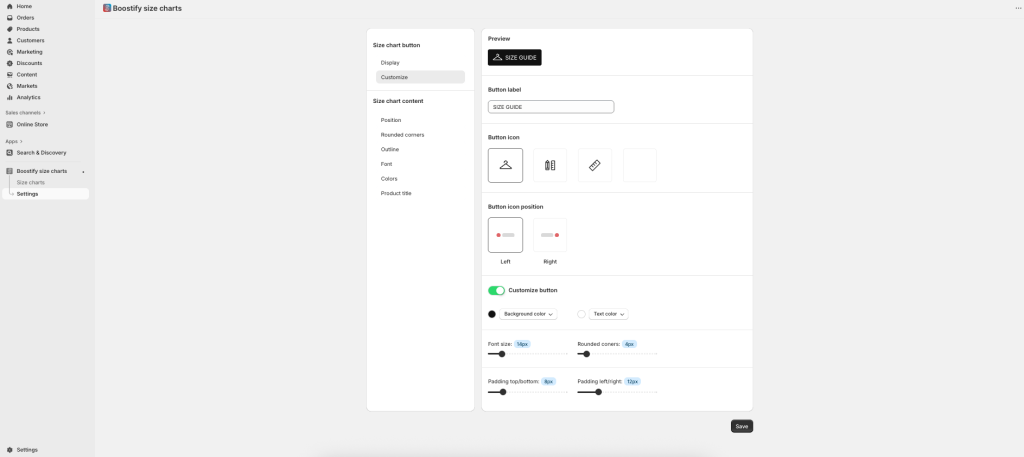
We have a Customize button option, you can add background color, change button text color, select font size, add Rounded corners button, and add padding around the button.
Size chart content
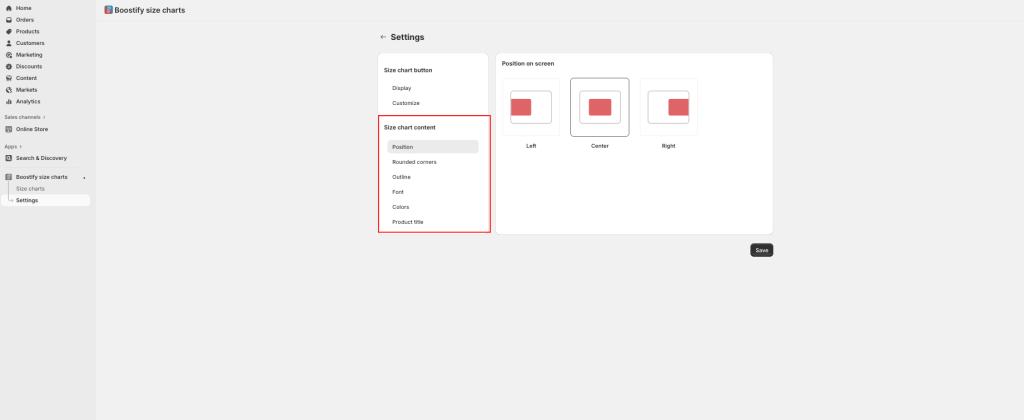
6 options to custom Size chart content: Position, Rounded corners, Outline, Font, Colors, and Product title. After setup, it will apply to all Size chart buttons in your store.
3. Add the size chart button
From the product page, add a Boostify size chart app block
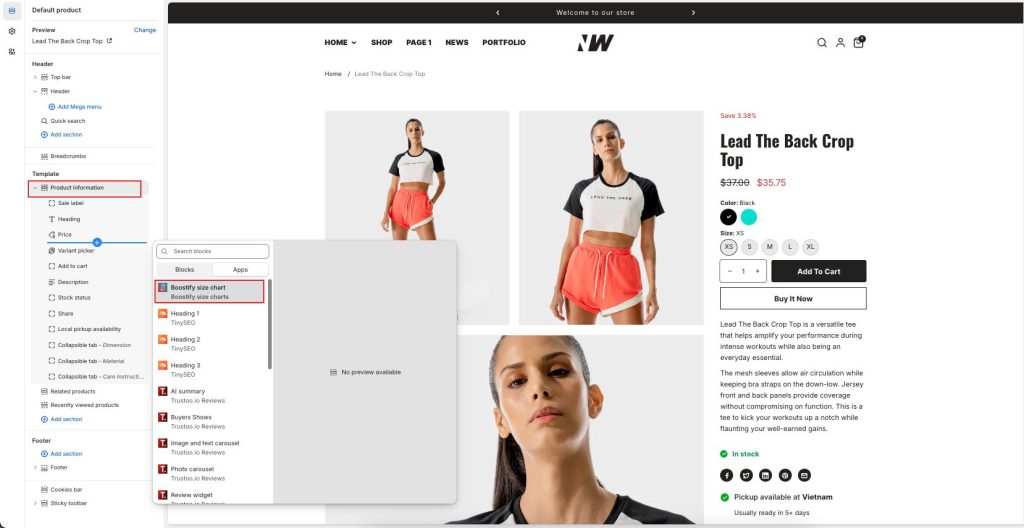
After adding the app, you can arrange its position according to your purpose.
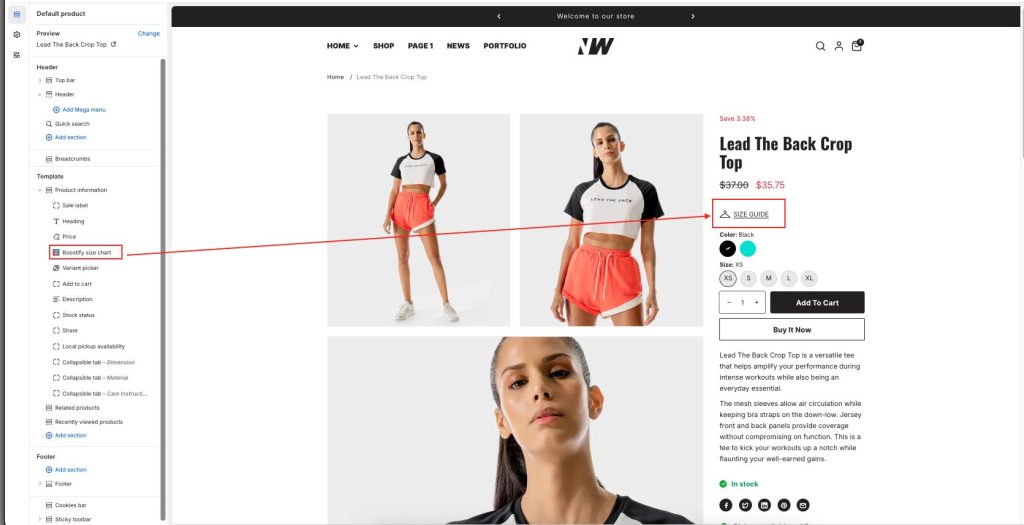
The size chart will display like a pop-up button. When you click on it, your size chart content will display.
Only selected products and collections linked in settings will display the size chart button.