You don’t need to create Tours page if you used 1-Click Demo Data import feature or imported theme demo content manually.
The first thing to create tour page content is to create a tour post. The theme has various post options for you to display different content on your tour information.
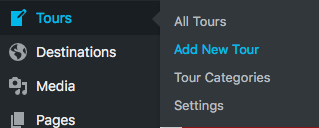
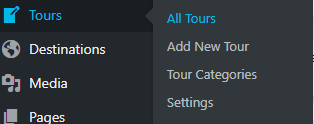
1.Go to WordPress Dashboard > Tours > Add New Tour
2.Enter post title and content, category as you want
3.Upload tour featured image using set featured box on the bottom right side. All pages will use this image for post preview image and thumbnail.
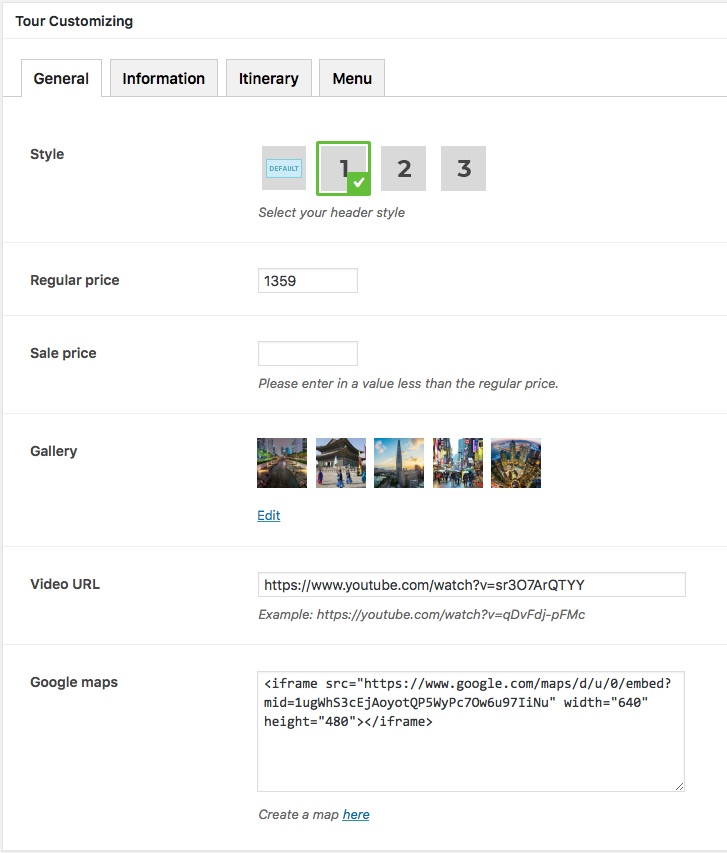
4.Customise Tour
5.Once you finish, click Publish.
Then, create a Tour page containing Tour post
- Go to WordPress Dashboard > Pages > Add New
- Select Tour Template
- Once you finish, click Publish.
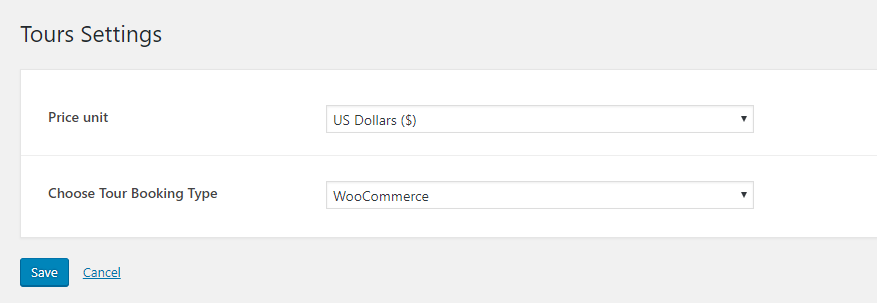
We added the new Tour Booking Type option: WooCommerce. This is going to make tour booking payment easier. To enable the WooCommerce integration for Tour Booking type, follow these steps:
1.Go to WordPress Dashboard > Tours > Settings

2.On Choose Tour Booking Type, choose WooCommerce and click Save.
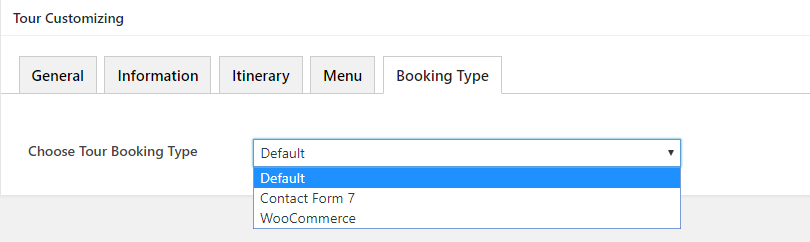
You can also set Tour Booking Type for a specific tour. Here’s the guide:
1.Navigate to any tour you have created. WordPress Dashboard > Tours > All Tours and Choose a tour.
2.Scroll down to the section named Tour Customizing and click on Booking Type
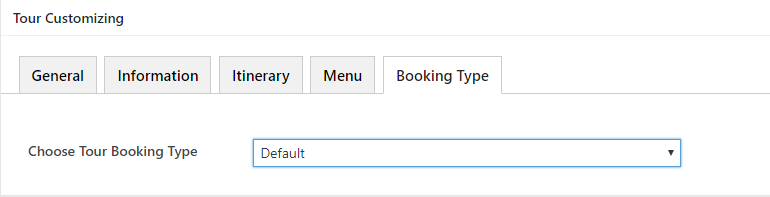
3.The default value is Default which means the setting value will be whatever value you have set on Tours Settings (WordPress Dashboard > Tours > Settings > Choose Tour Booking Type).
4.Now you can set booking type option only for specific tour you’re in.