As we mentioned earlier, WordPress doesn’t support SVGs out of the box. However, you can either enable this feature manually or use a plugin to do it. Let’s start with the latter method because it’s the simplest.
Method 1: Use the SVG Support plugin ( Recommended )
If you’re looking for the fastest way to add SVG to WordPress, this is it. We’re going to use the SVG Support plugin, which enables this particular image format and adds support for it to your media library: SVG Support
The process is simple. You just need to install and activate the plugin as usual, and then you’ll be able to add SVGs to your WordPress site.
WordPress now requires us to have the <xml> tag in our SVG files before uploading. Please open your SVG file in any code editor (such as sublime text) and add the following to the very first line of your SVG file and save, so that you don’t encounter security errors:
<?xml version="1.0" encoding="utf-8"?>
However, there are two more settings you might want to change depending on your needs. First off, let’s go to the Settings → SVG Support tab:

Inside, you’ll find two options. The first turns on the plugin’s Advanced Mode, which lets you target your SVGs with CSS. If you don’t want to animate your SVGs, then you can skip this option.
Second, you can also restrict the ability to upload SVGs to administrators only by enabling the Restrict to Administrators? feature. That one’s up to you!
Method 2: Modify your site’s functions.php file
Every WordPress website has its own functions.php file. This essential component includes important functions, classes, and filters. It’s also your ticket to adding SVG support to WordPress through a few lines of code.
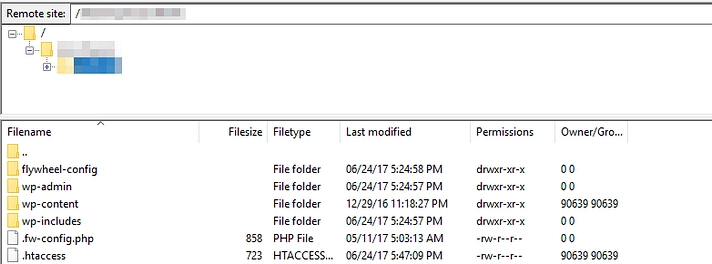
To reach this file, you’ll need to access your website via FTP. If you don’t have a client, we recommend using FileZilla. Once you’ve found your FTP credentials and accessed your site, you’ll want to head to your root folder, which is usually either called public_html or named after your site:
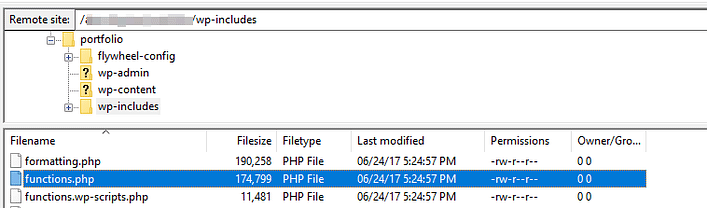
Now, enter the wp-includes folder and look for the functions.php file within. It’s important to note that this is the parent file, while there are also individual functions.php files for each of your themes:
For this example, we’ll add the code to the parent file. However, you may find the changes are lost when WordPress is updated, so feel free to alternatively add it to your theme-specific functions.php file depending on the approach you’re more comfortable with.
(Editor’s note: Doing this in your theme’s functions file is actually the recommended approach.)
Access the functions.php file now by right-clicking on it and choosing the View/Edit option. This will open it using your default text editor. Now, scroll to the bottom and paste this code snippet there:
function add_file_types_to_uploads($file_types){
$new_filetypes = array();
$new_filetypes['svg'] = 'image/svg+xml';
$file_types = array_merge($file_types, $new_filetypes );
return $file_types;
}
add_filter('upload_mimes', 'add_file_types_to_uploads');
Save your changes to the file and close it. Then you can return to your dashboard and test your new feature by uploading an SVG file to your media library, which should work without a hitch!