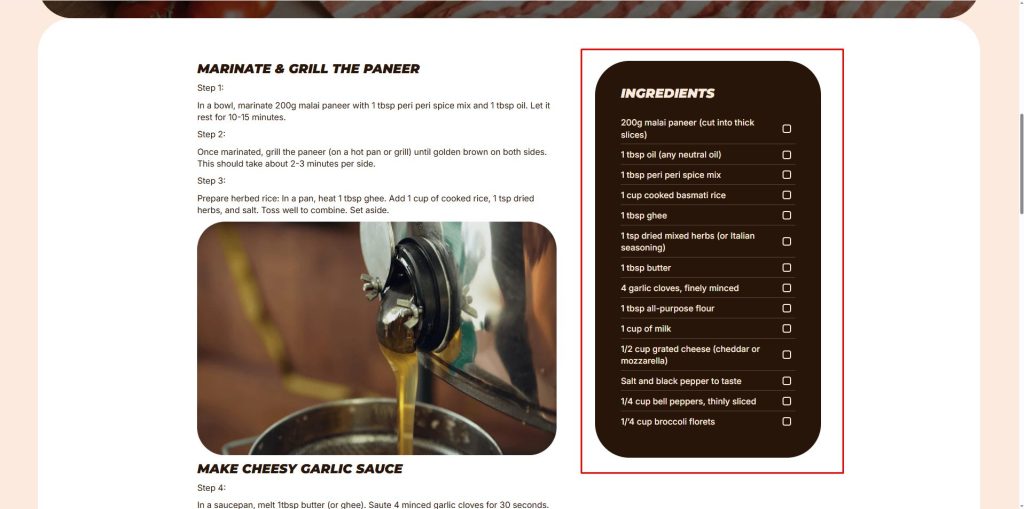
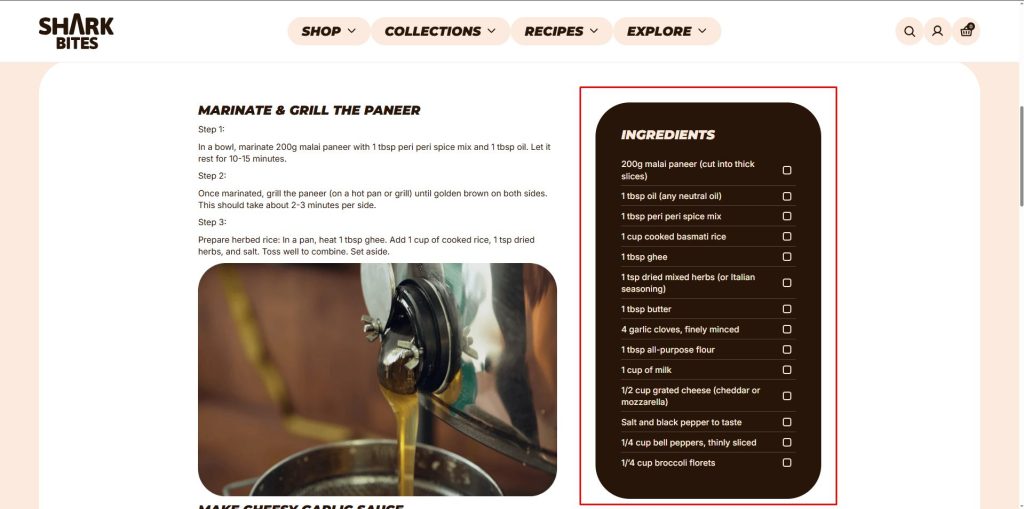
Using custom data (also known as metafields), you can create a recipe card to add to a blog post. Here’s an example of how it can look:
Create the recipe specific metafields in the Shopify Admin
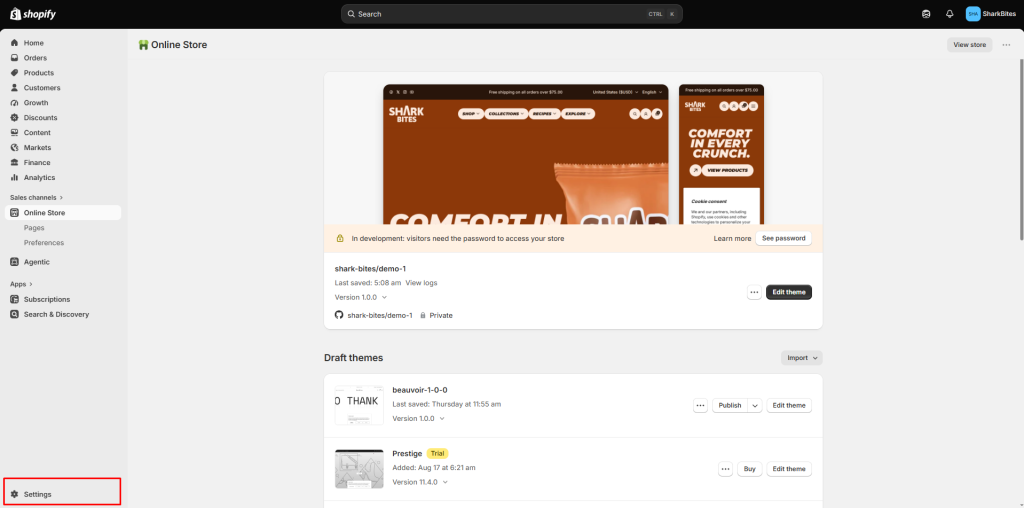
In the left hand column of Shopify Admin, click on the “Settings” tab towards the bottom. The settings window will open and in it’s left sidebar, click into “Metafields and metaobjects”. You’ll see a list of Fields for different page templates. Select “Blog posts”.There are 2 metafields that build the content for the recipe card and you’ll need to create a metafield definition for each one. The metafields need to be named and setup exactly as described and named below in order to work correctly. Click into the “Add definition” button to start. The only mandatory field is the “Recipe ingredients” metafield. Any blog post that has nothing entered in recipe ingredients will not display a recipe card. Make sure to “Save” each metafield after you have filled each one out.
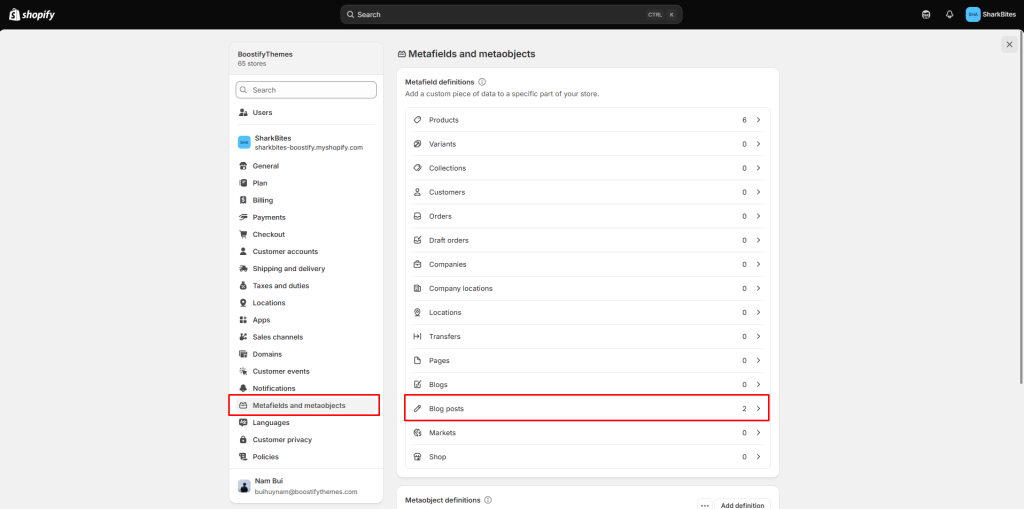
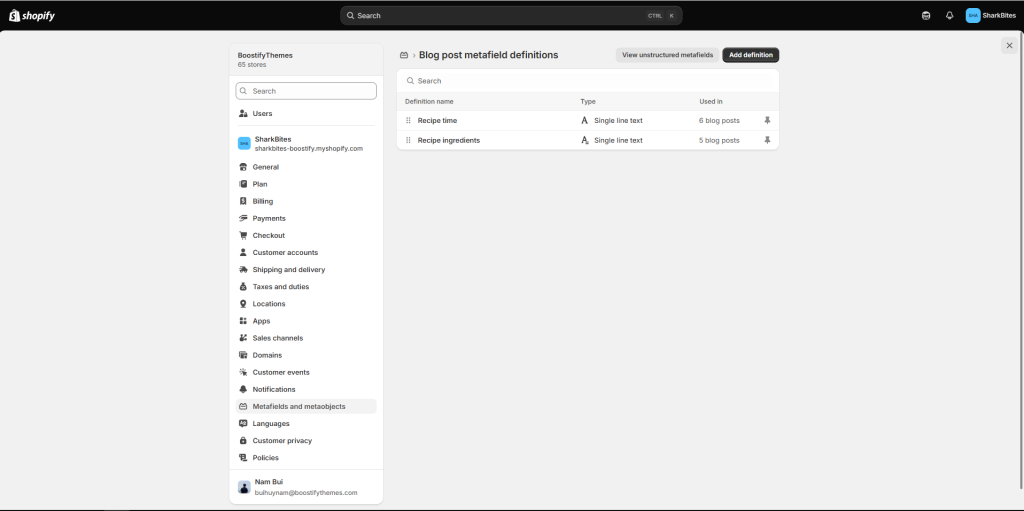
| Name | Namespace and key | Content type |
| Recipe time | recipe.time | Single line text (One value) |
| Recipe ingredients | recipe.ingredients | Single line text (List of values) |
Add your recipe content to recipe blog posts
Create a new blog post. On the page to edit the blog post content, on the right column there is a dropdown to select a “Theme template”. Every new blog posts has “Default blog post” upon creation. Change this to the template called “recipe”. The title of the blog post should be the name of the recipe.
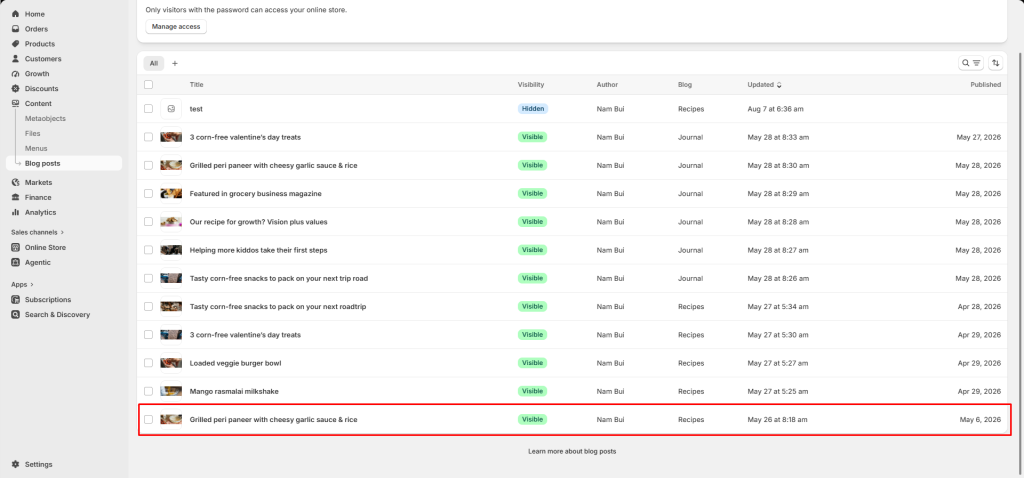
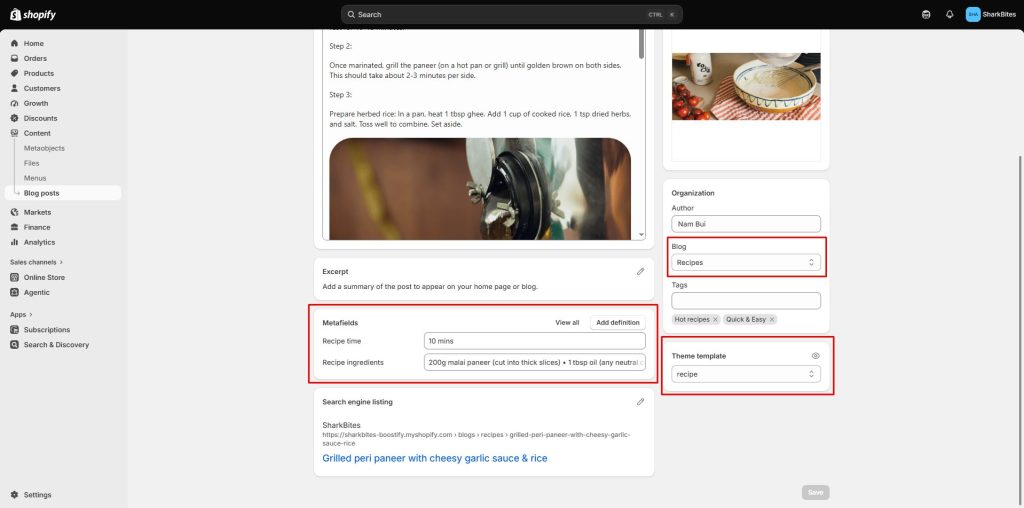
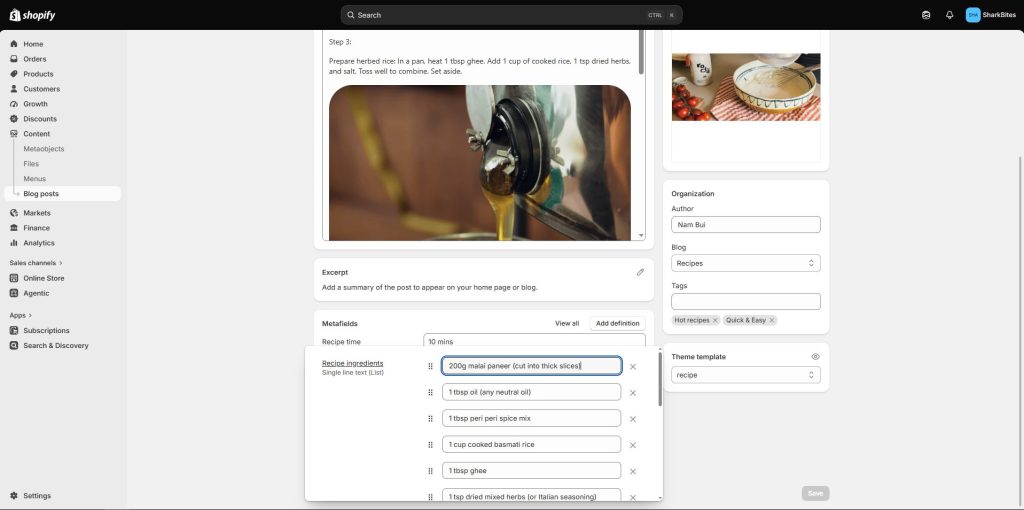
Then, enter the content into the metafields, including the cooking time and ingredients.
Results
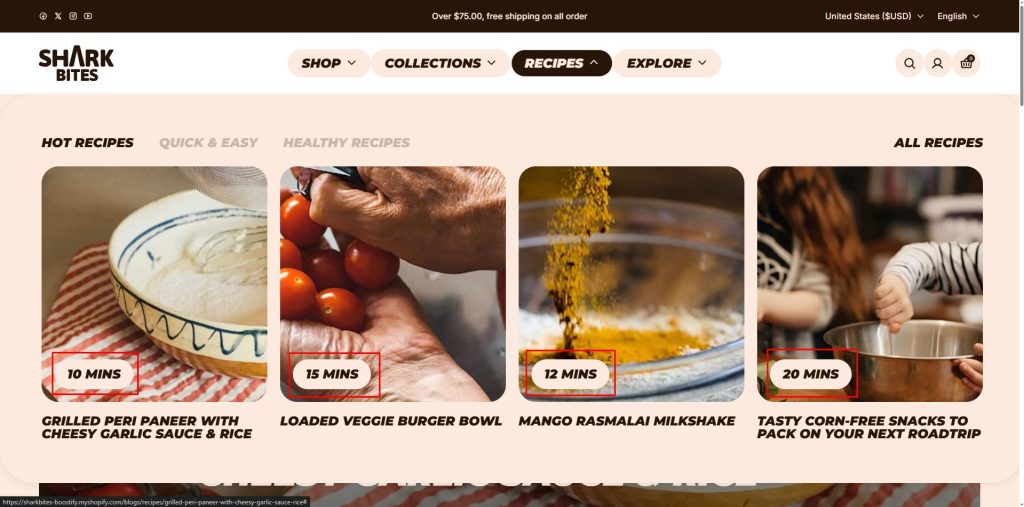
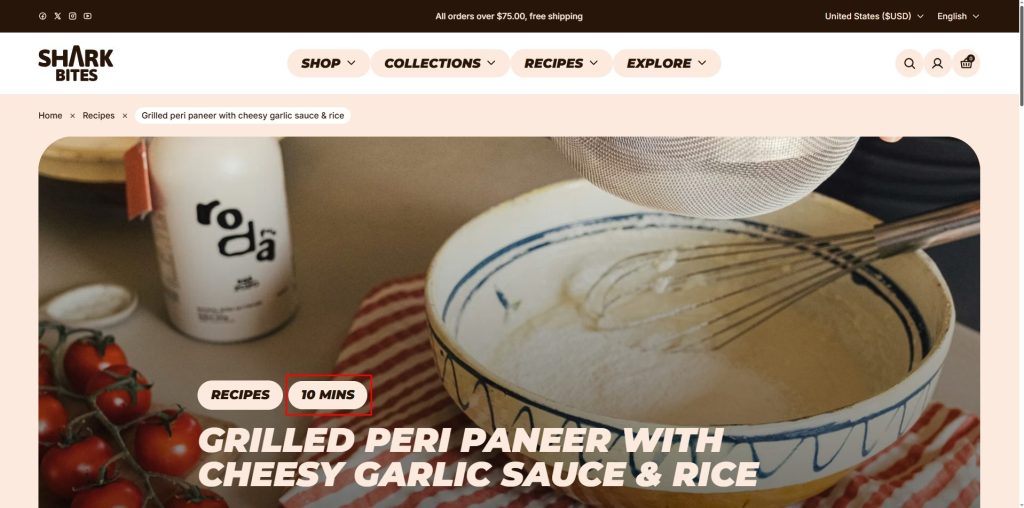
The recipe time will be displayed in the blog post content as well as in sections that display recipe posts.

The recipe ingredients will be displayed in the blog post content.