Create Tour
The first step in creating tour content is to create a tour post. This WordPress theme has various post options for you to display different content on your tour information.

- Go to WordPress Dashboard > Tours > Add New
- Enter post title and content.
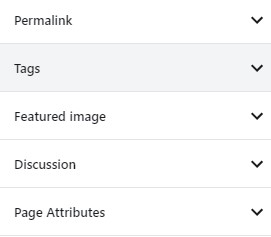
- Upload tour featured image using set featured box on the bottom right side. All pages will use this image for post preview image and thumbnail.
- Publish your changes.
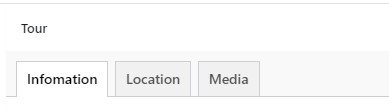
A tour includes 3 main sections: Information, Location and Media.
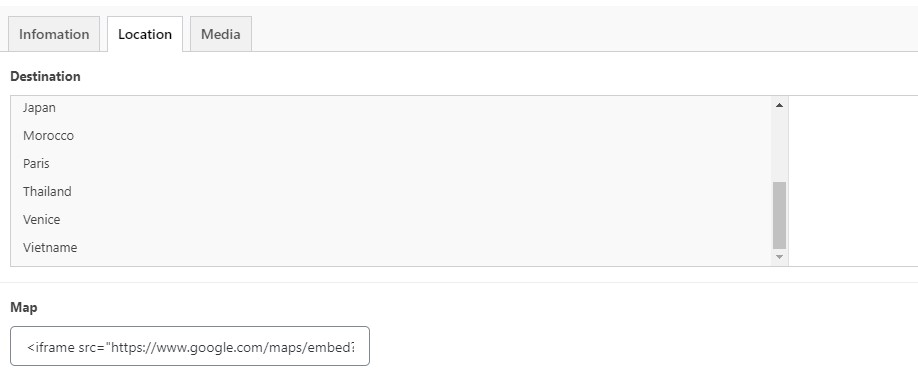
- In Location, you add Destination of the tour and Map.
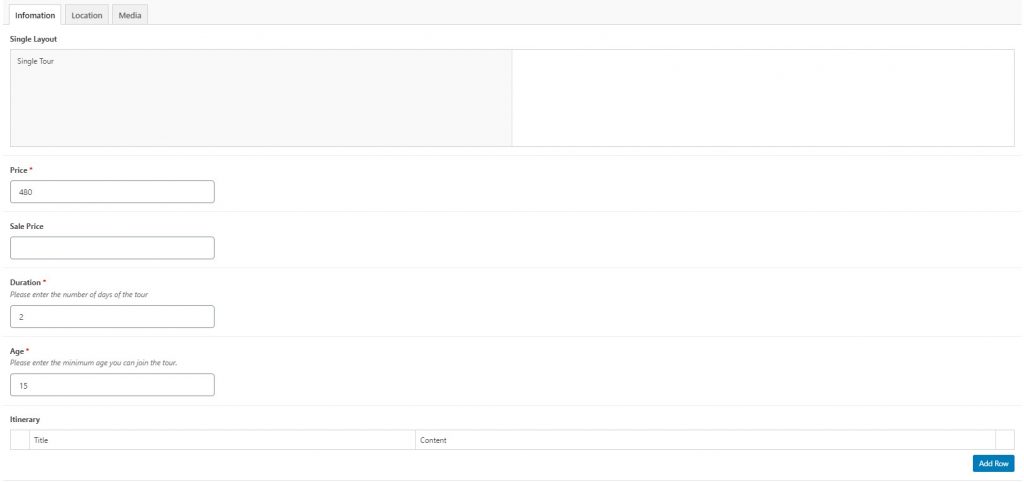
- In the Information section, you need to set the Single Layout, Price, Sale Price ,Duration, Age and Itinerary
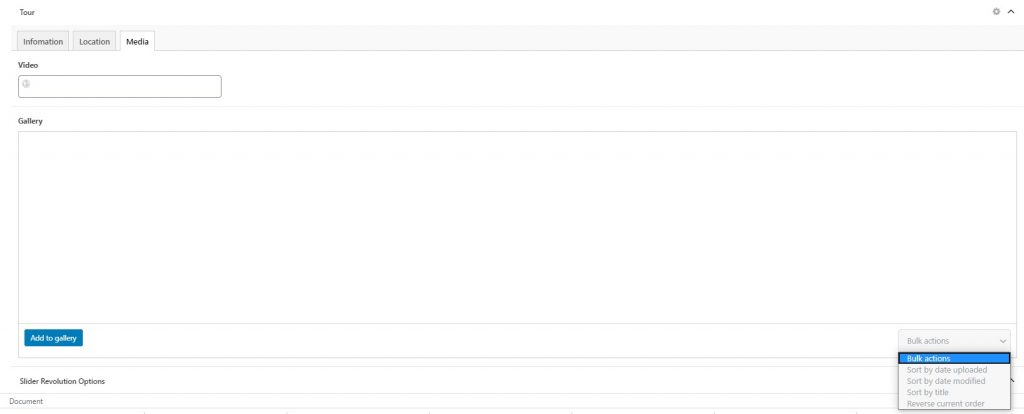
- In Media section, you need to add information about Video & Gallery
In addition to the main information above, to have a complete tour displayed for your visitors, you need to add Tour Category, tags, and tour’s featured image, which will make your tours attract more visitors and more easily be found on the Internet.
To edit/adding the layouts as your own, go to Dashboarsh > Single Layouts, choose Add New if you want to add a new layout.
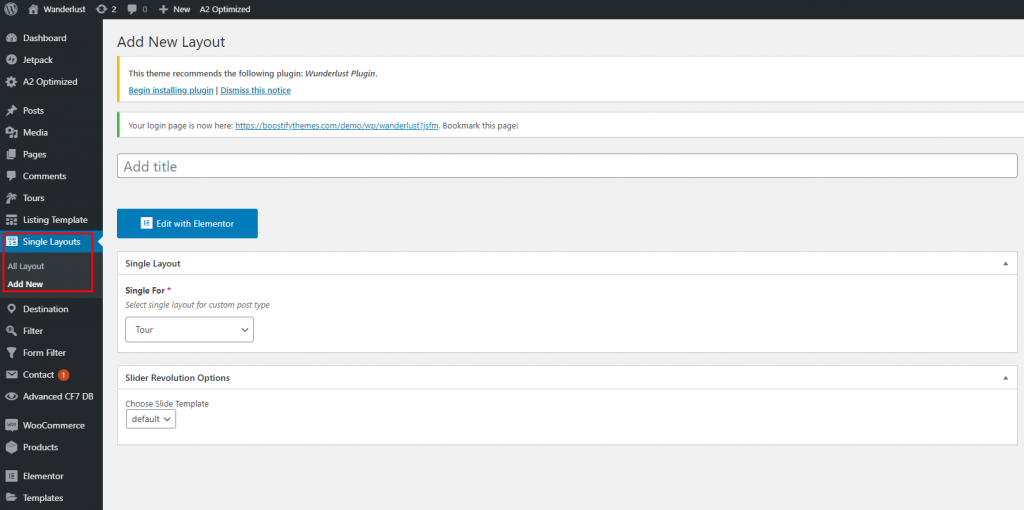
Or go to All Layouts then select the layout you want to customize. However, to add new or edit the layout, you need to have knowledge of programming or hire a developer.

Booking
In TRAVELCATIONS, To create a booking form with Contact form 7 plugin, go to WordPress Dashboard > Contact > Add New.
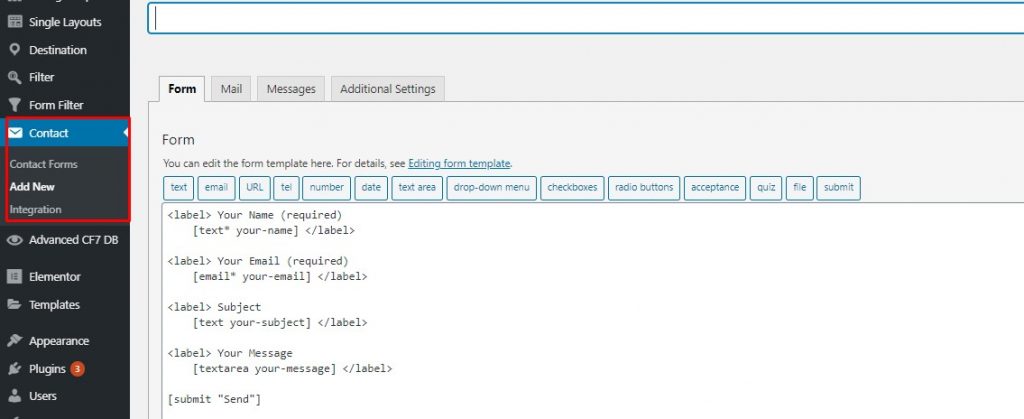
Here, you need to add the name of the form. Every main information is available, so you just edit/ add more if you want.
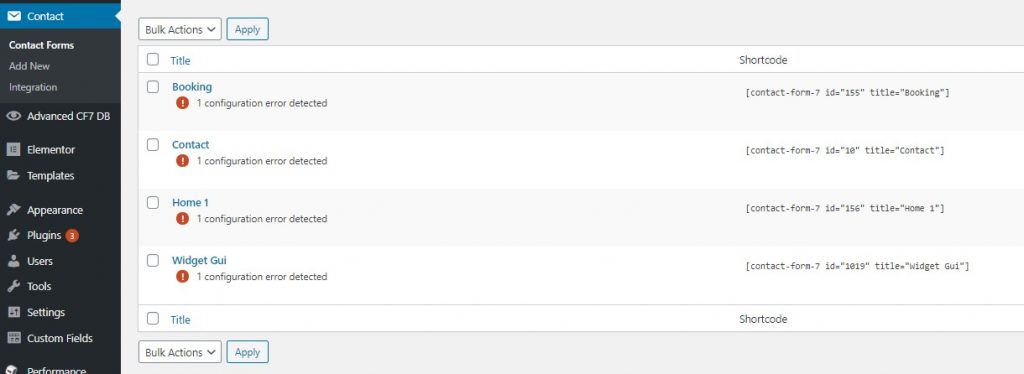
If you want to edit the existing forms, go to WordPress Dashboard > Contact > Contact Form. You will see a list of forms created before and choose the form you want to edit.
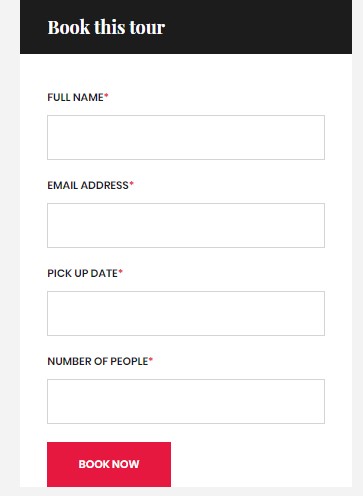
Below is how booking form using contact form 7 looks on the frontend:
Once you’ve done, SAVE your changes.