Your store has some products on sale, and you want to feature them on the website to attract more customers’ attention. With Neat theme, you can create a sale badge to feature the promotional items.
Add a product sale badge
1. To activate a sale badge display, you need to provide data on the original selling price and the after-discount price on Shopify. You can do as follows:
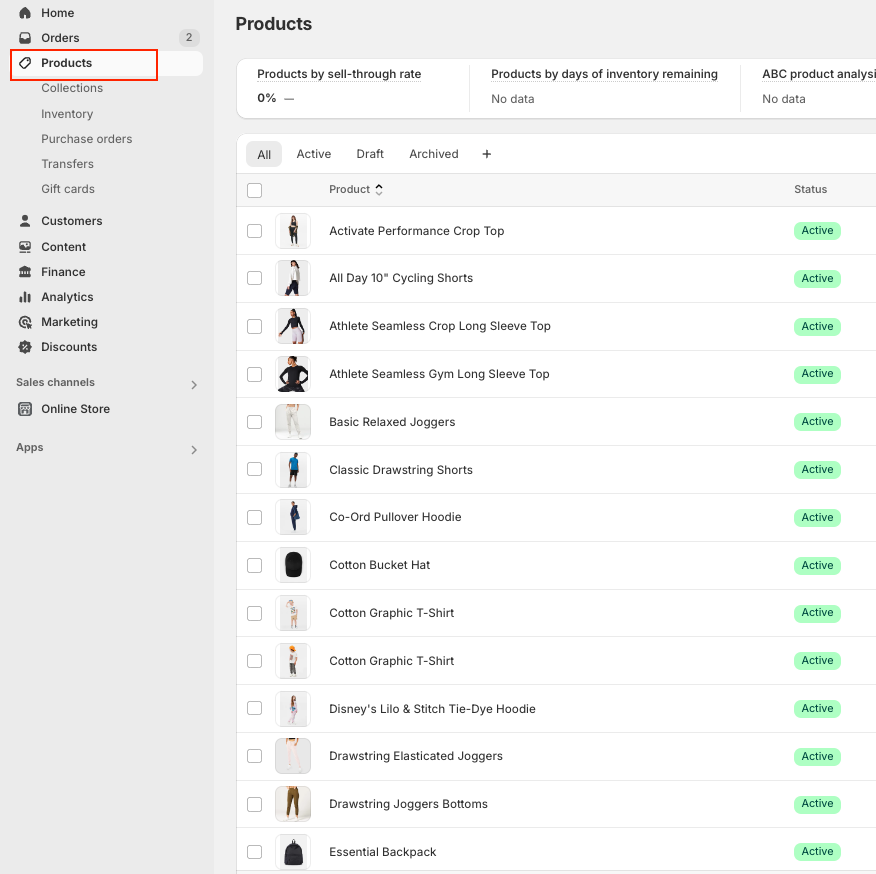
On your Shopify Admin dashboard, click Products > Select the product to be featured with the sale badge.
2. In that product’s configuration panel, you navigate to Pricing and insert the prices after and before the discount. Note that the original price must be in the Compare at price box, and the after-discount price is in the Price box to enable the sale badge.![]()
Note: If your product has many variants, you click on each variant to see the Pricing setting field (original and after-discount price).
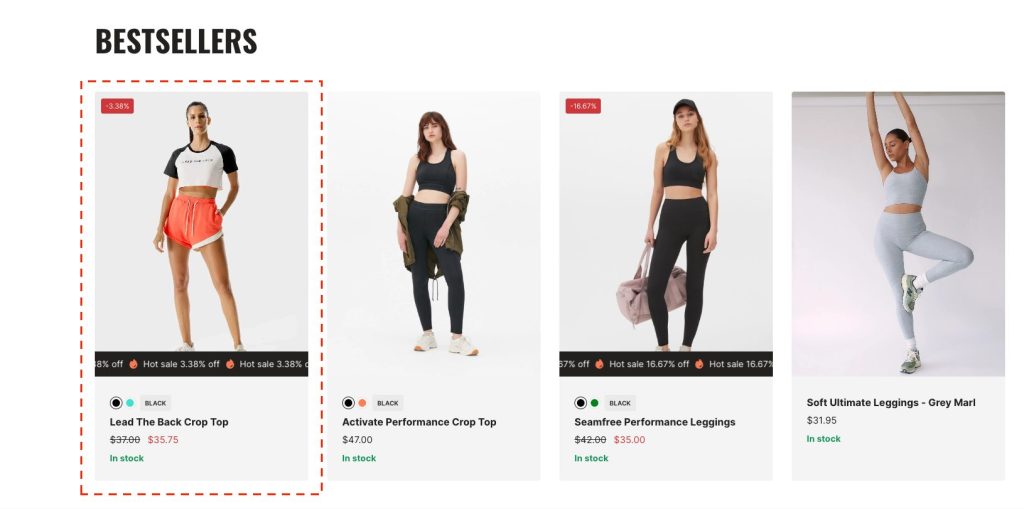
As a result of the above settings, the sale badge is visible for the chosen product on the product page and the collection page.
On the collection page and collection sections:

Remove a product sale badge 🔗
To remove the sale badge, you simply do as follows:
1. On your Shopify Admin dashboard, click Online Store > Themes.
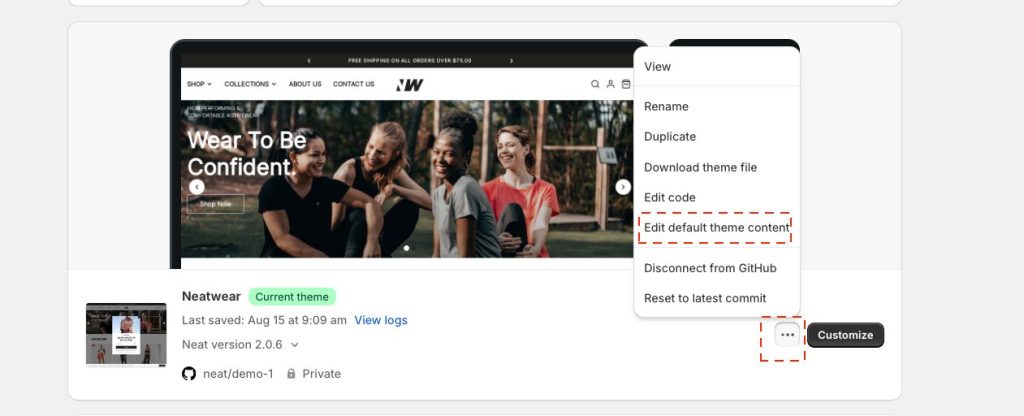
2. On the Themes page, choose Neat theme and click on the theme’s button Actions > Edit default theme content.
3. Select the tab Products and scroll down to the box On sale, or you can search the term “on_sale” in the Filter items bar to navigate quickly to that box. Next, you delete the text “Sale” in the box.![]()
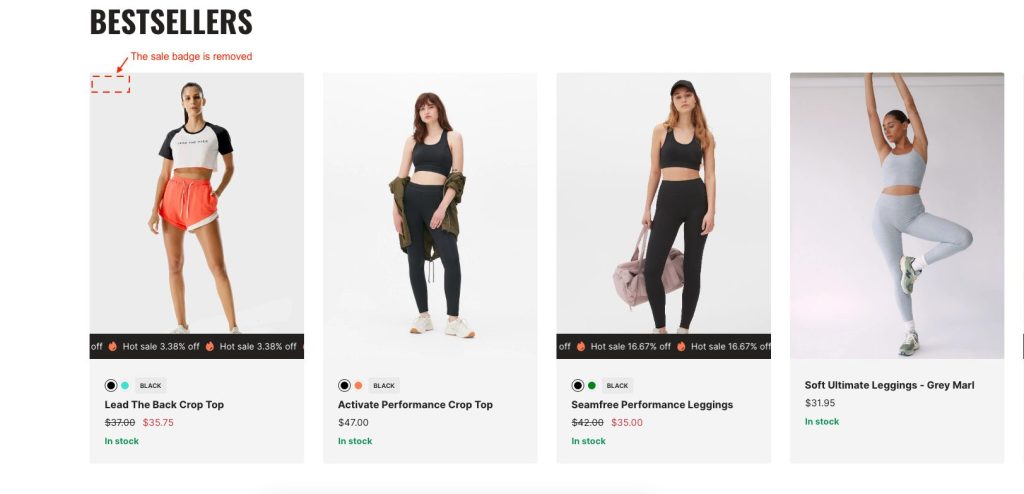
Then, click Save to confirm your change. The sale badge has now been removed from the product item on the collection page and sections.
On the collection page
We hope that you find this article helpful! If you have any concerns about this feature, do not hesitate to contact our team for further support.